
Installing a temperature monitoring probe in a -80°C ultra-low temperature (ULT) freezer seems straightforward. Thread a cable in, close the door, done. But where that cable enters the freezer determines whether you get years of reliable monitoring data or a growing block of ice, a compromised door seal, and eventual sample loss.
This guide covers the physics behind probe placement, the one mistake almost every lab makes, and two safe entry methods that work on virtually any -80 freezer.
Why Probe Placement Matters at -80°C
The temperature difference between the inside of a -80°C freezer and a typical lab at +20°C is roughly 100°C. That differential drives everything that can go wrong with a poorly installed probe.
Here’s what happens every time you close the door:
- Warm air gets trapped inside. Opening the door lets ambient air in - warm, humid air.
- The air contracts as it cools. As the interior drops back toward -80°C, the trapped air volume shrinks significantly.
- Negative pressure builds. The contracting air creates suction across the entire cabinet - on the door gasket, on every panel joint, on every cable pass-through.
- Suction pulls in ambient air. Any gap, any breach in the seal, becomes an entry point. The freezer actively pulls room air in through it.
- Humidity enters and freezes instantly. Room air carries moisture. At -80°C, that moisture deposits as ice immediately - on the gasket, around cables, on interior surfaces near the breach.
This cycle repeats with every door opening. Over days and weeks, ice accumulates at every point where the seal is compromised. The problem compounds: more ice means a worse seal, which means more air infiltration, which means more ice.
Never Install a Probe Through the Door Seal
This is the single most common installation mistake in laboratories: threading a probe cable between the door gasket and the frame.
It seems harmless. The gasket is flexible. The cable is thin. It closes fine. But you’ve just created a permanent gap in the only barrier between -80°C and room temperature.
What happens next:
- The negative pressure cycle described above pulls humid air through the gap continuously - not just when the door opens
- Ice forms on the gasket around the cable, physically deforming it
- The deformed gasket creates a larger gap, accelerating ice buildup
- The compressor works harder to maintain setpoint, increasing energy consumption
- Temperature stability degrades as the seal worsens
- Eventually, the ice buildup triggers alarms, or worse - goes unnoticed until samples are compromised
Breaking the door seal for a monitoring probe defeats the purpose of monitoring. You’re introducing the very instability you’re trying to detect.
The Right Way: Use the Access Port
Most modern -80°C freezers from manufacturers like Thermo Fisher, Eppendorf, PHCbi, and Stirling Ultracold include a dedicated probe access port. It’s typically located on the top or rear panel of the unit.
This port is engineered for exactly this purpose - a thermally insulated pass-through designed to accept monitoring probe cables without compromising the cabinet seal.
How to install via the access port:
- Locate the port - check the top panel and rear panel. Consult your freezer’s manual if needed. It may be covered by a rubber plug or cap.
- Remove the cap and thread your temperature probe cable through the port.
- Route the probe to your desired monitoring location inside the freezer (see probe positioning below).
- Seal the port around the cable using closed-cell foam or silicone putty. Don’t leave it open.
- Connect the probe to your wireless transmitter or monitoring system.
Over time, some ice will form around the probe where it enters the port. This is normal and actually beneficial - the ice acts as an additional natural insulator, improving the seal. This is the opposite of what happens at the door gasket, because the port is designed to handle a cable pass-through without creating a pressure leak.
No Access Port? Use the CO2 Backup Pre-Cut
Older freezers may not have a dedicated probe port. But most ULT freezers - even older models - have something equally useful: a pre-cut location for a CO2 backup system.
Most -80 freezers are designed with an optional CO2 backup that floods the cabinet with dry ice gas during a power failure. Even if your unit doesn’t have this option installed, the manufacturing cutout for it still exists. The outer metal panel has a pre-stamped knockout or thin sheet, and behind it is foam insulation - nothing structural.
Think of it like a car feature you didn’t order. The blank is already pressed into the body panel. The wiring harness may even be partially there. You just didn’t activate it. The same principle applies to these freezer pre-cuts.
How to identify and use the CO2 backup pre-cut:
- Find the pre-cut - usually on the top panel. Look for a circular or rectangular indentation, a foam-filled depression, or a removable cover plate. Check your freezer manual for “CO2 backup” or “access port” locations.
- Remove the outer cover if present, exposing the foam plug.
- Drill through the foam using the pre-cut as your guide. The foam is soft - a standard drill bit works fine.
- Thread the probe cable through the hole.
- Seal thoroughly with closed-cell foam or silicone putty around the cable.
- Replace any outer cover if applicable.
This location is safe to penetrate because it was designed to be penetrated. You’re not drilling through refrigerant lines, structural panels, or electrical components - just through a foam-filled knockout that the manufacturer put there for exactly this type of access.
For a step-by-step guide specific to Thermo Fisher units, see our Forma 900 Series Probe Installation Guide.
Where to Place the Probe Inside the Freezer
Getting the cable inside safely is only half the job. Where you position the probe tip inside the freezer matters just as much.
Place the probe inside the storage grid or rack. Securing the probe within the grid structure protects it from being knocked or shifted when researchers load and unload samples. A probe hanging loose in the cabinet will move, touch the wall or a shelf, and produce erratic readings - especially during door openings when air currents move through the cabinet.
Understand temperature stratification. The temperature at the probe location may not match the temperature where your samples sit. In a -80°C freezer, expect up to 5°C variation between different positions in the cabinet - top vs. bottom, center vs. walls, near the door vs. the back.
Most freezers display the temperature from their own built-in sensor, which sits at a fixed location chosen by the manufacturer. Your external monitoring probe will likely read a different value. This doesn’t mean either is wrong - they’re measuring different locations.
Calibration considerations:
- If your facility requires documented calibration, calibrate the probe at the actual sample storage location or at the center of the equipment
- Document the offset between your probe reading and the freezer’s display reading
- Some regulatory standards (ISBER, CAP) require that you can demonstrate the relationship between the monitored temperature and the actual product temperature
- Best practice: position the probe at the same level as your most critical samples
Need continuous monitoring for your ULT freezers? ATEK’s ultra-low temperature monitoring solution provides 24/7 alerting, historical trending, and compliance-ready documentation - starting from the probe, all the way to your phone.
How to Seal the Probe Entry Point
Regardless of whether you use the access port or the CO2 pre-cut, proper sealing is essential.
- Use closed-cell foam or silicone putty around the probe cable where it passes through the panel. These materials insulate and conform to the cable shape.
- Never leave the hole open. An unsealed pass-through is almost as bad as a broken door gasket - it gives humidity a direct path into the cabinet.
- Check the seal during routine maintenance. Over time, foam can compress or shift. A quick visual inspection during PM visits takes seconds.
- Some ice at the entry point is normal. A small ice formation where the probe enters actually helps seal the gap. Don’t chip it away unless it’s excessive or interfering with the cable.
What Happens When Probe Installation Goes Wrong
The consequences of poor probe placement are progressive and expensive:
- Ice buildup on the door gasket - the most visible symptom. Ice on the seal means the seal is already compromised.
- Increased energy consumption - the compressor runs longer cycles to maintain setpoint against constant air infiltration.
- Temperature excursions - as ice accumulates, the freezer struggles to maintain -80°C. Samples experience temperature swings that may not trigger alarms until significant damage is done.
- Regulatory non-compliance - standards from FDA (21 CFR Part 11), ISBER, and CAP require documented stable storage conditions. A freezer fighting ice infiltration won’t produce the stable temperature records regulators expect.
- Sample loss - the worst case. Irreplaceable biological samples, years of research, compromised because a probe cable was threaded through the door seal.
For a deeper look at why ice accumulation is so damaging and how to prevent it, see our companion guide: Ice Buildup in -80°C Freezers: Why It Happens and How to Prevent It.
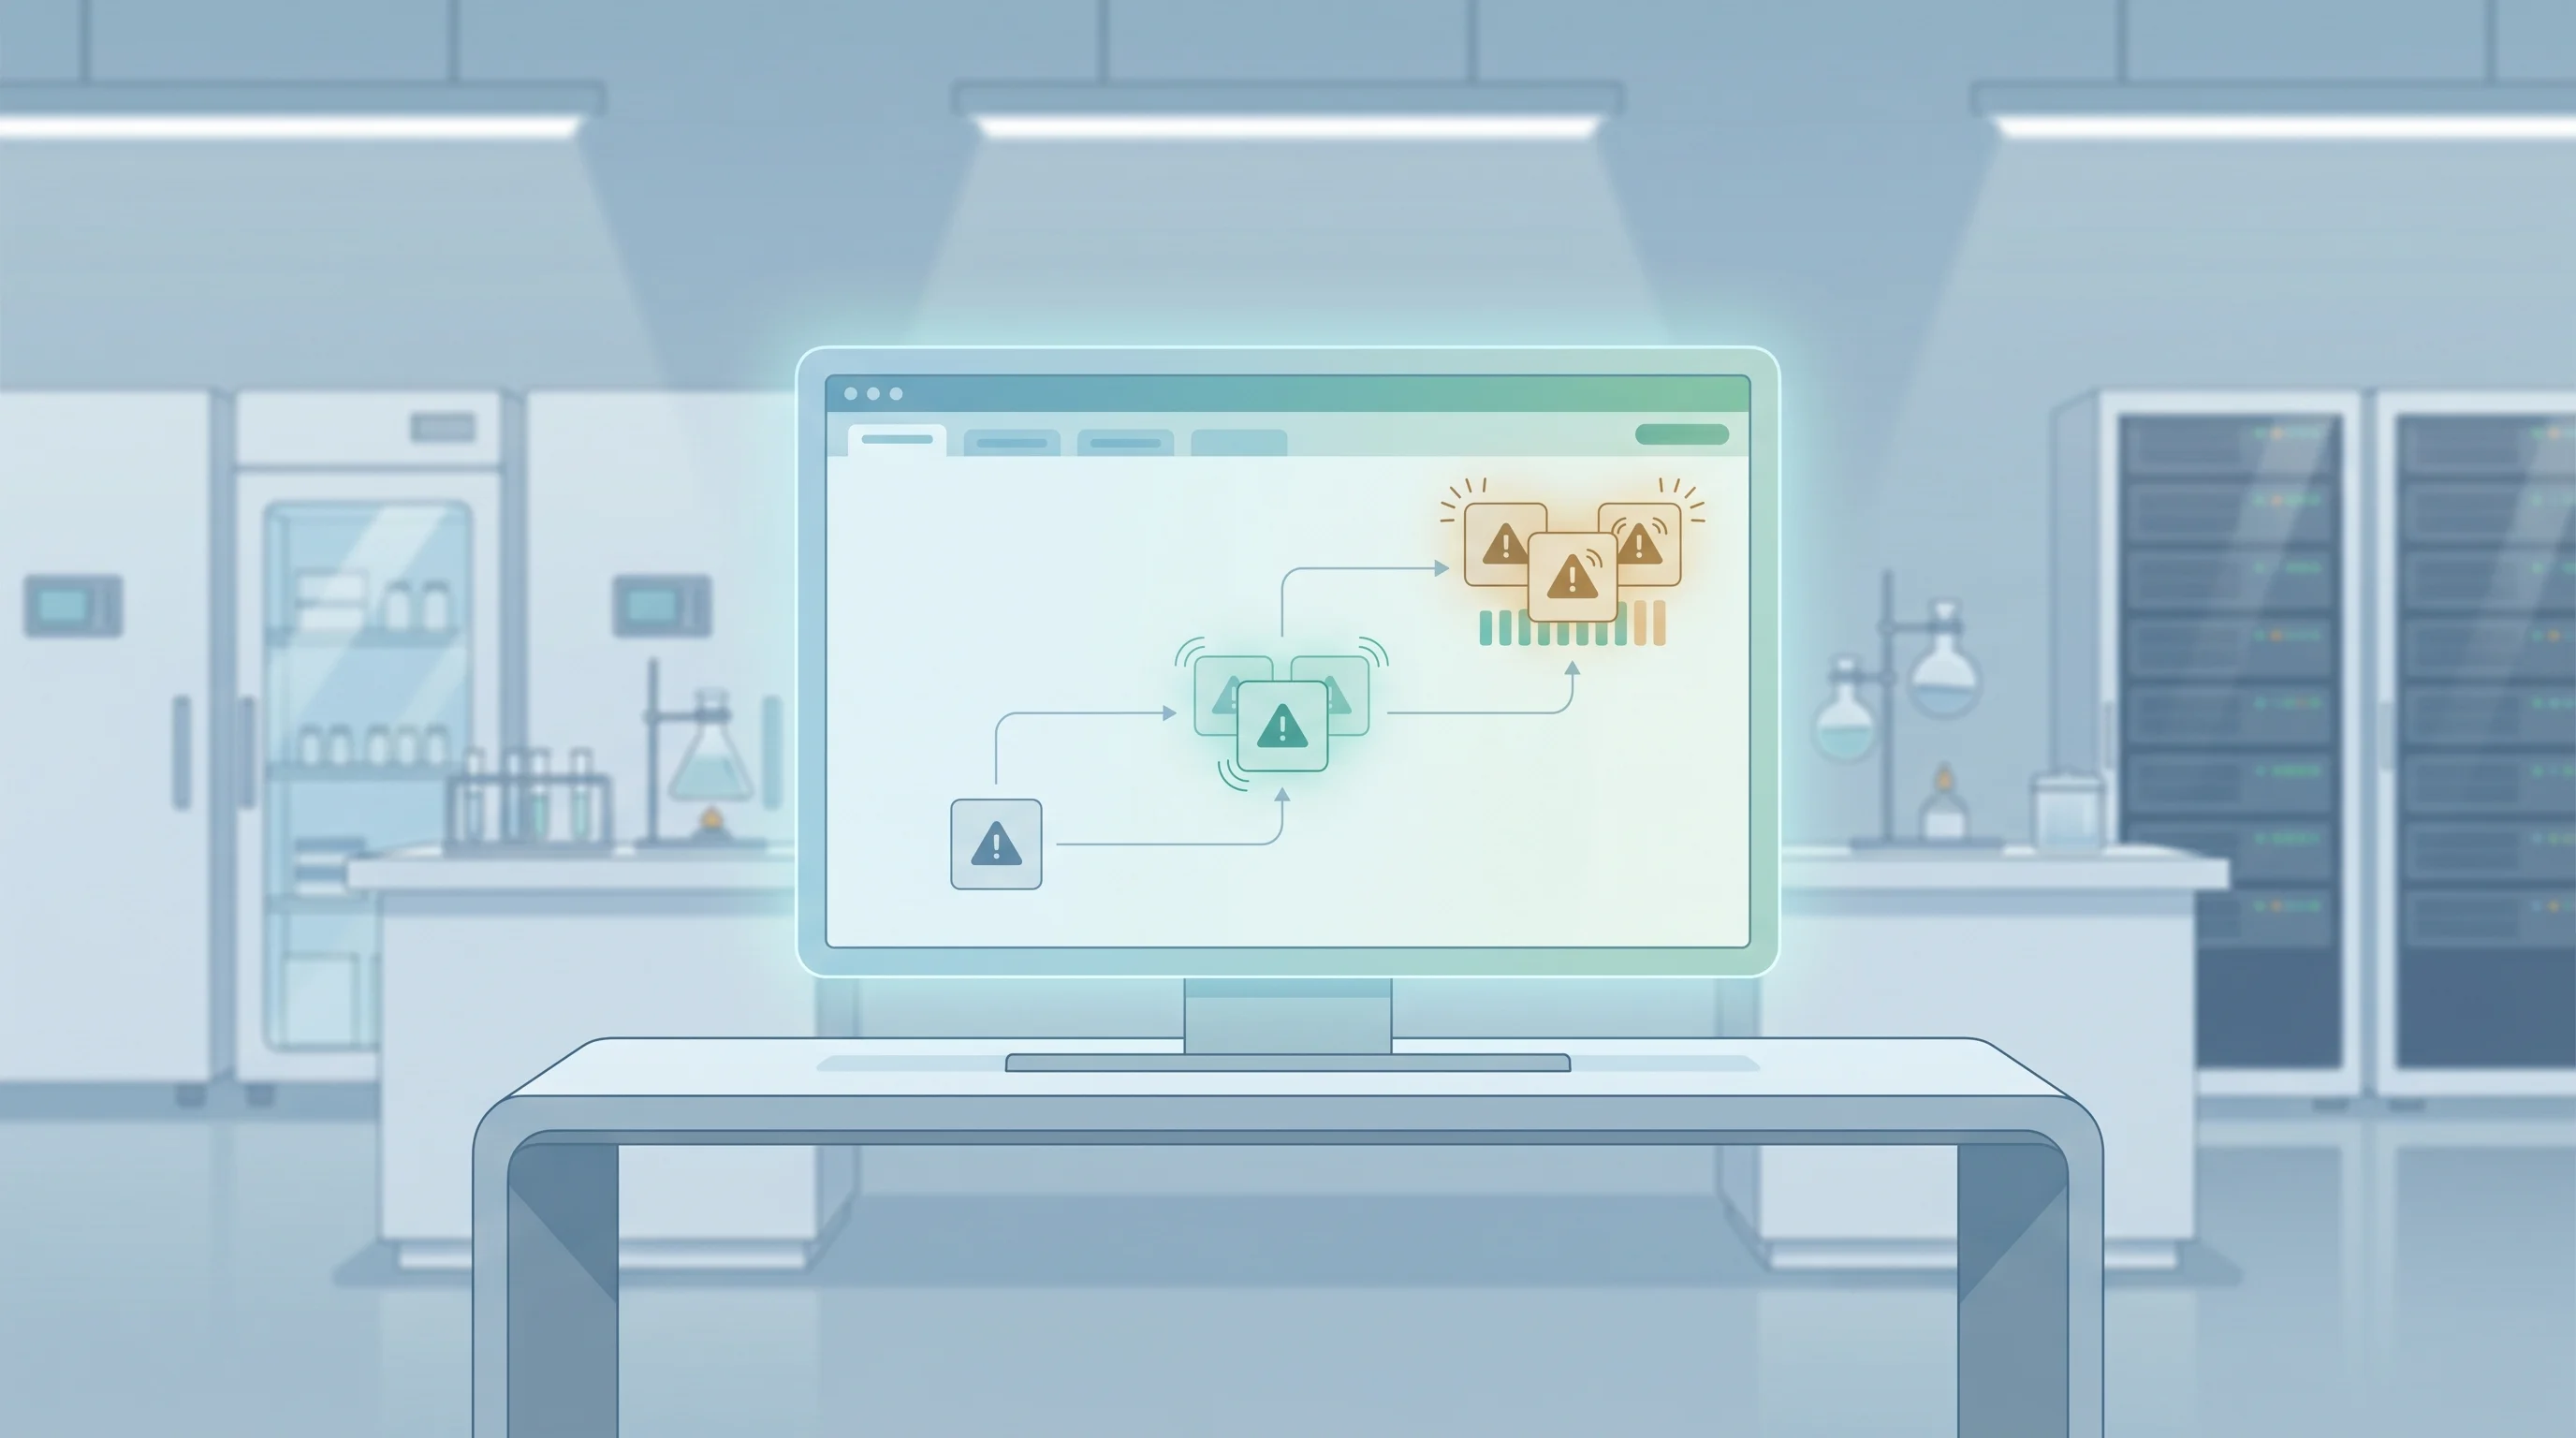
After Installation: Connect to Continuous Monitoring
A correctly installed probe is the foundation. But the probe is only useful if it’s connected to a monitoring system that watches your freezer 24/7 - including nights, weekends, and holidays when nobody is in the lab.
Continuous monitoring for -80°C freezers should provide:
- Real-time temperature visibility from any device
- Automated alerts via SMS, email, or push notification when temperature drifts out of range
- Historical data logging for compliance documentation and trend analysis
- Audit-ready reports that satisfy FDA, ISBER, and institutional requirements
ATEK’s freezer and refrigerator monitoring platform handles all of this - from the probe to the cloud - with no manual logging required.
Ready to set up monitoring on your -80°C freezers? Contact us to discuss your specific setup, or request a demo to see the platform in action.