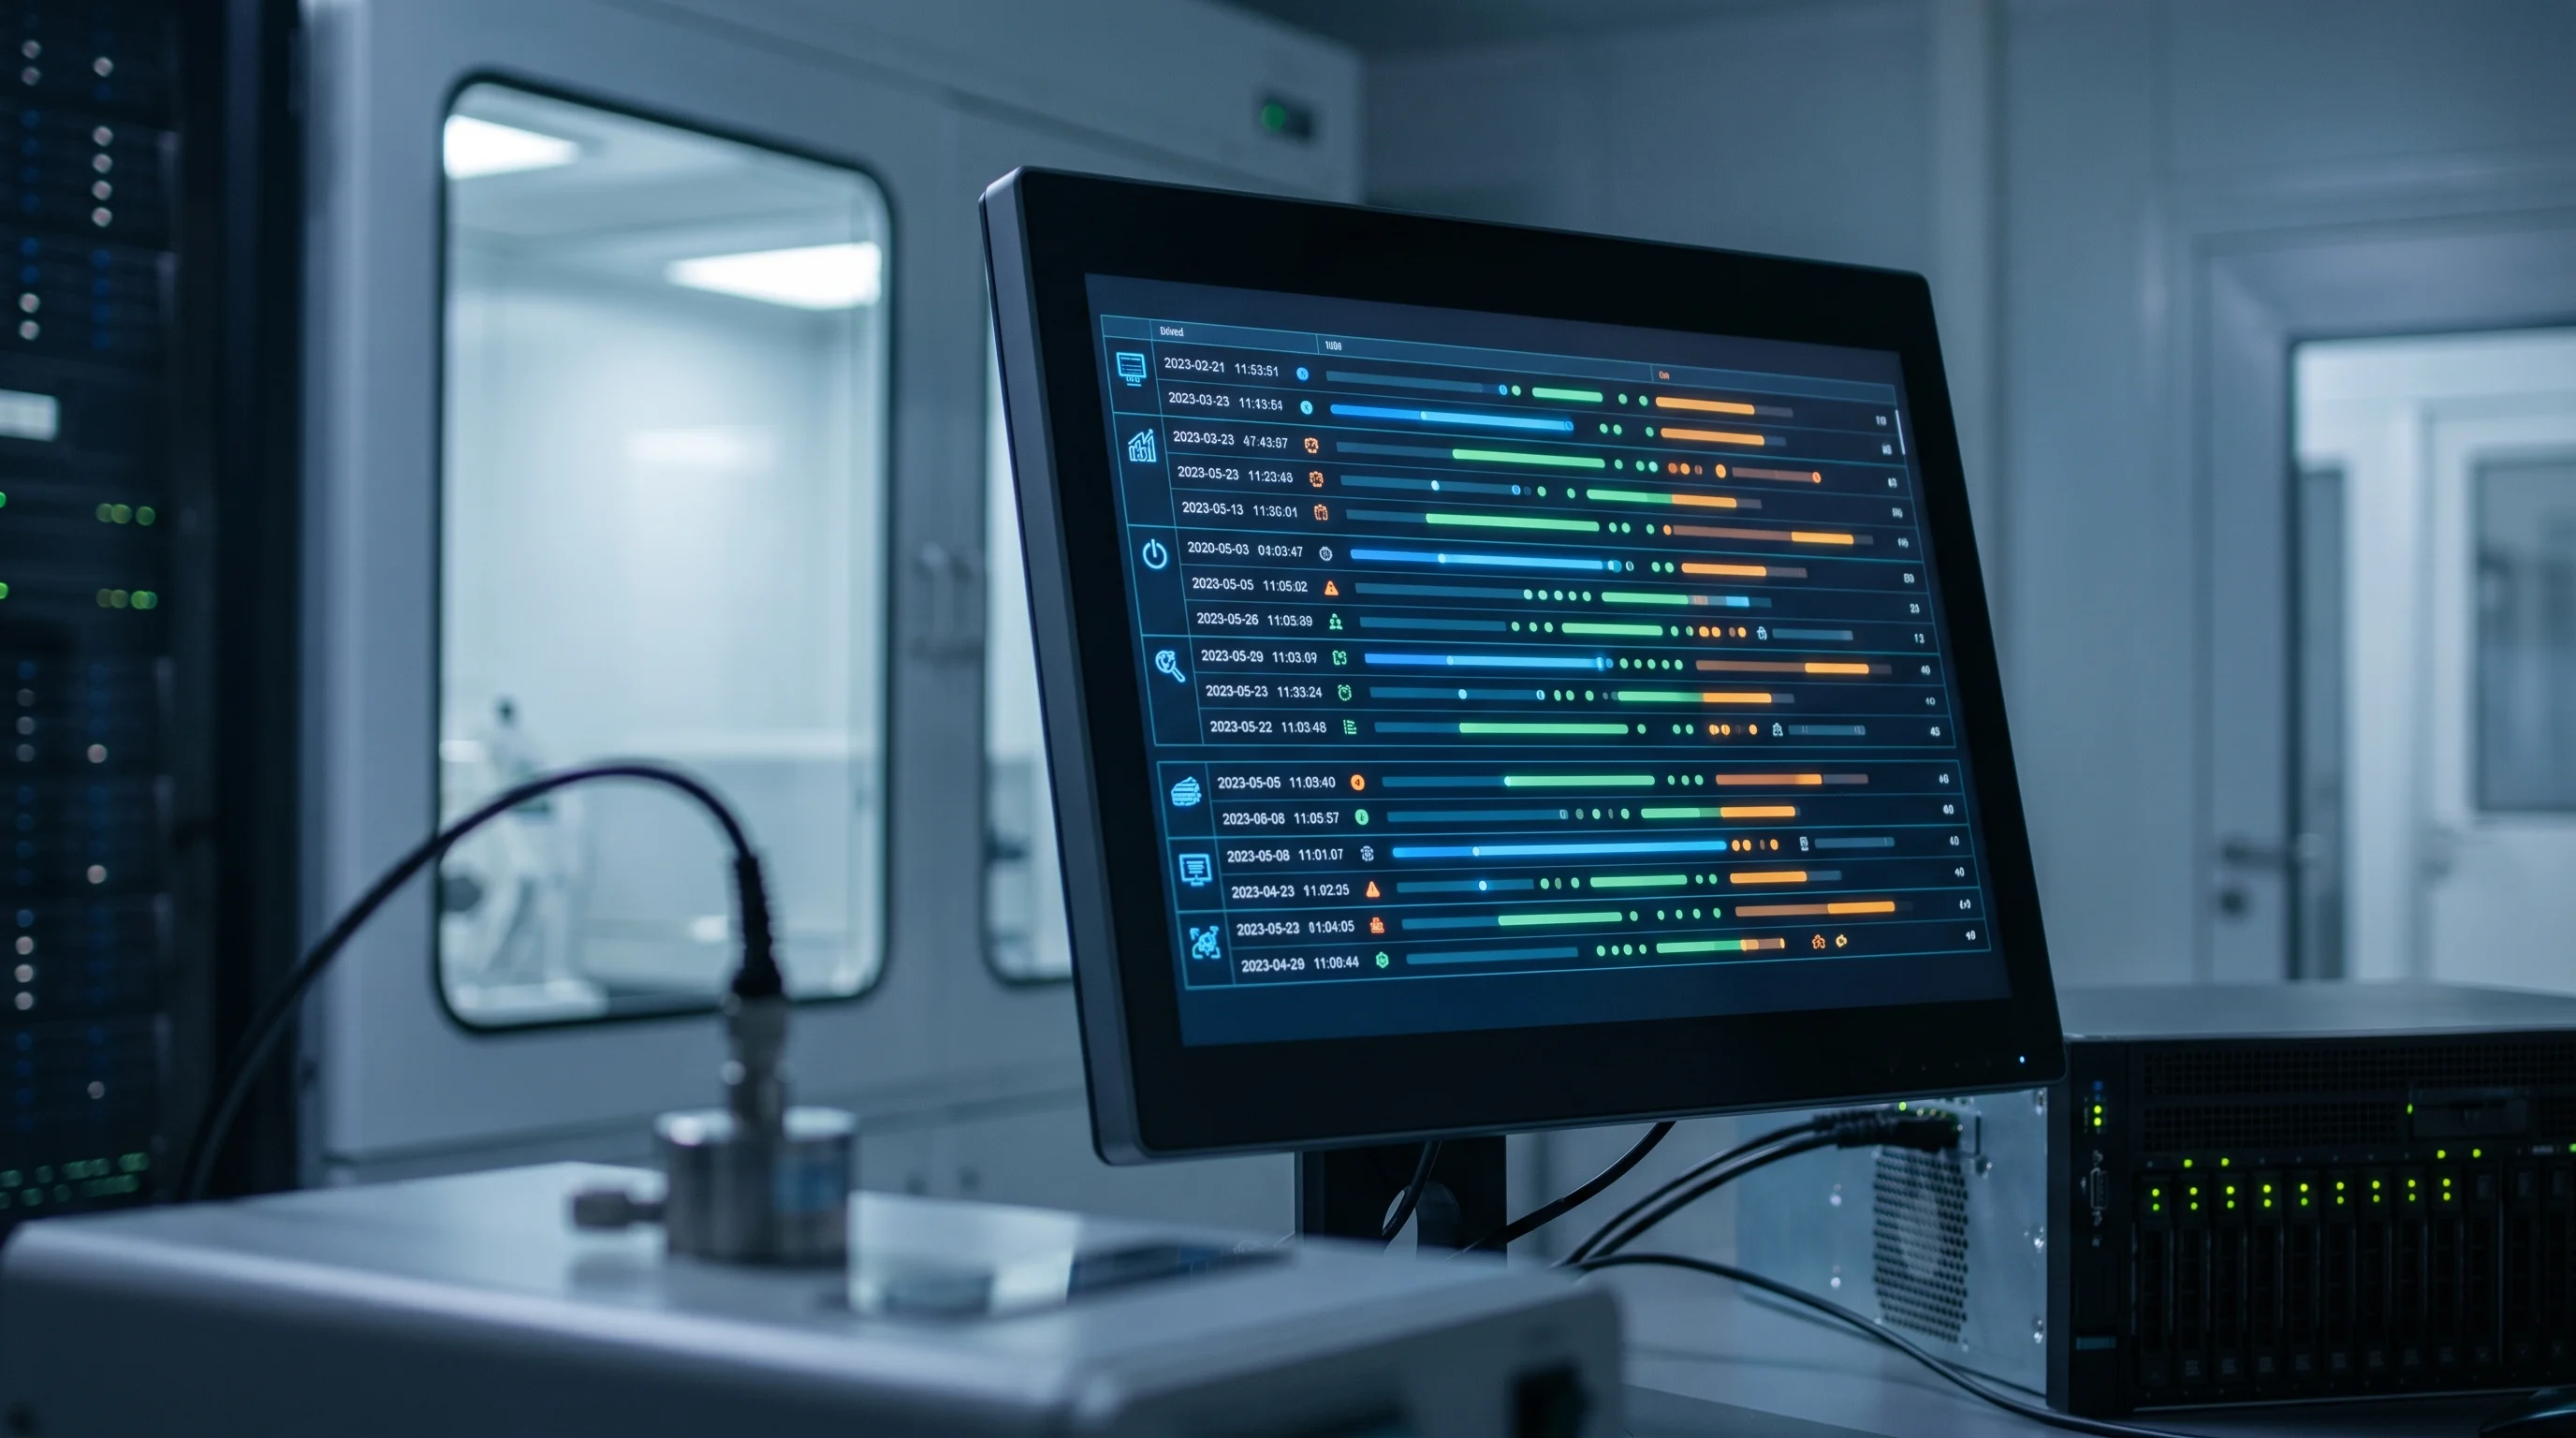

An environmental excursion is not just a temperature graph that went outside a limit. It is a decision event.
Someone has to decide whether material, samples, vaccines, reagents, rooms, or equipment stayed under control. That decision needs more than a screenshot. It needs a defensible chain of evidence:
- what happened
- when it started
- how far it went
- how long it lasted
- who was notified
- what inventory or samples were exposed
- what quality decision was made
- what changed so the same event is less likely to repeat
The hard part is that these questions usually arrive under pressure. A refrigerator is warm. A freezer is climbing. A pharmacy has stock in quarantine. A lab manager wants to know whether the weekend run is still usable. Quality needs enough evidence to make a release, reject, retain, or investigate-further decision without turning memory into documentation.
This checklist is written for that moment.
Regulatory note: use your approved SOP, your product specifications, your local pharmacy or laboratory requirements, and your quality system. This article is a practical investigation structure, not a substitute for regulatory or quality approval.
First Rule: Stabilize Before You Explain
The first response should not be a root-cause meeting. The first response should protect the material and preserve the evidence.
Immediate actions:
- Acknowledge the alarm and confirm that the responsible person or role received it.
- Check whether the condition is still active.
- Keep affected stock, samples, or product under the best available controlled condition.
- Label or segregate affected material according to your SOP. For vaccines and drugs, this often means “do not use” or quarantine status, not disposal.
- Avoid moving material unless the SOP or quality owner says movement is needed to protect it.
- Record who made each decision and when.
Common mistake: discarding material too early.
The decision to reject or destroy stock should come after the impact assessment, not before it. In many drug and vaccine workflows, exposed inventory is separated and held until the manufacturer, quality unit, public health program, or other responsible authority can assess the excursion data. Destroying material before the assessment may remove evidence that the investigation needs.
What the Investigation Must Prove
A useful excursion investigation answers six questions.
| Question | Evidence to collect |
|---|---|
| Did the excursion really occur? | Sensor reading, local check, nearby sensors, equipment display, calibration status |
| When did exposure start and end? | Last in-range point, first out-of-range point, maximum or minimum value, recovery time |
| What was exposed? | Inventory list, lot numbers, sample IDs, product quantities, access or movement logs |
| Who knew and acted? | Alarm notifications, acknowledgements, escalation history, responder notes |
| What was the product or sample impact? | Stability data, labelled storage range, manufacturer guidance, quality assessment |
| What will prevent recurrence? | Root cause, corrective action, preventive action, effectiveness check |
If one of those fields is blank, the investigation is still relying on assumption.
Step 1: Lock the Data Record
The most fragile part of an excursion investigation is often the first hour of evidence.
Export or preserve the event record before people start changing settings, moving probes, unplugging equipment, or restarting gateways. The goal is not just to save a chart. The goal is to preserve enough context for a later reviewer to reconstruct the event without interviewing everyone again.
Capture:
- monitored asset or room name
- sensor ID, probe ID, and probe location
- monitored parameter, such as temperature, relative humidity, differential pressure, CO2, or oxygen
- configured alert threshold and delay
- sampling interval
- time zone used by the system
- last in-range reading before the event
- first out-of-range reading
- highest or lowest value reached
- time back in range
- time considered stable again, if your SOP defines stabilization separately
- alarm notifications, acknowledgements, and escalations
- any data gaps, connectivity losses, power events, or manual corrections
- latest calibration status for the monitoring device
Weak record: “Fridge was out of range overnight.”
Stronger record: “Fridge RX-02 crossed 8 C at 01:42, reached 11.6 C at 03:18, returned below 8 C at 04:07, and stayed below 8 C for the SOP-defined recovery period by 04:37. The primary responder received SMS and email at 01:47, acknowledged at 01:54, and recorded a local door-seal check at 02:12.”
The stronger record is not longer for its own sake. It lets quality separate the environmental event from the response event.
Step 2: Confirm the Reading Without Erasing It
Confirmation is not the same as denial. The purpose is to decide whether the excursion reflects the actual storage condition, a measurement problem, or both.
Check:
- Does the equipment display agree with the monitoring probe?
- Do nearby sensors show the same direction of change?
- Was the probe displaced, iced over, submerged, blocked, or moved during cleaning?
- Was the probe buffered, and is that buffering appropriate for the stored material?
- Was the sensor recently calibrated or due for calibration?
- Did the system show missing readings before or during the excursion?
- Did facilities, maintenance, or staff change a setpoint, defrost cycle, power source, door seal, or HVAC schedule?
Important distinction: if the sensor is wrong, you still investigate. A false excursion can expose a monitoring-control problem. If the refrigerator warmed but the sensor missed it, the investigation is even more serious because the control failed silently.
Step 3: Reconstruct the Exposure Window
The exposure window is the period during which material may have experienced unacceptable conditions.
Do not start with the alarm time alone. Alarm time can lag the true start of exposure if the system has a delay, if readings are buffered, or if the threshold is not identical to the product specification.
Build the timeline from these points:
- Last confirmed in-range reading.
- First reading outside the applicable limit.
- First alarm notification.
- First acknowledgement or response.
- Peak or valley of the excursion.
- Corrective action, such as door closed, product moved, unit repaired, or backup power restored.
- Return to range.
- Stabilization point.
- Quality disposition decision.
For refrigerated or frozen material, time and magnitude both matter. A short, small deviation is not the same investigation as a long excursion at a more extreme temperature. For humidity, differential pressure, incubators, cleanrooms, and stability chambers, the important variables may be different. The investigation should follow the material risk, not the default dashboard view.
Be careful with shortcuts such as Mean Kinetic Temperature. MKT can be useful in some temperature-control contexts, but it is not a universal answer. Health Canada explicitly cautions that MKT may not be appropriate for refrigerated or frozen products, biologics, liquids or suspensions subject to phase change, or cases where excursion data may indicate product-quality impact. If MKT is used, the procedure and calculation method should already be justified.
Step 4: Identify Exposed Material
Once the exposure window is defined, identify what was actually in the affected zone during that window.
Use:
- inventory system records
- receiving and shipping records
- lot, batch, vaccine, reagent, sample, or study IDs
- freezer box or rack maps
- access logs
- door-open records, if available
- maintenance and cleaning records
- transfer records to backup equipment
- staff notes from the response
Do not assume the current inventory equals the exposed inventory. Material may have been removed, added, administered, tested, transferred, or disposed of after the excursion but before the investigation began.
Decision rule: a material is only cleared from the affected list when the investigation can show it was not present during the exposure window or was not subject to the affected condition.
Step 5: Make the Quality Decision Evidence-Based
The monitoring system does not decide whether material is usable. It provides evidence for the responsible quality, pharmacy, laboratory, manufacturer, public health, or product owner decision.
For each affected material group, document:
- labelled or specified storage range
- actual exposure duration
- actual maximum or minimum value
- product, sample, or study sensitivity
- applicable stability data or manufacturer guidance
- previous excursions on the same material, if cumulative exposure matters
- whether the material stayed segregated during assessment
- final disposition and approval
Possible dispositions include release, continued quarantine, manufacturer consultation, retesting, restricted use, rejection, repeat study, or disposal. The exact options depend on the material and quality system.
For drug storage and transportation, Health Canada GUI-0069 frames this clearly: excursions should be assessed and documented, corrective action should be recorded, and accept-or-reject decisions should be evidence-based. That is the practical standard to copy even outside formal drug distribution: do not let the final decision rest on “it was probably fine.”
Step 6: Separate Cause Categories Before Choosing CAPA
A weak investigation jumps from symptom to fix.
Bad pattern: “Temperature alarm occurred, so staff retrained.”
That may be necessary, but it is often a default answer when the real cause was equipment, sensor placement, loading practice, maintenance drift, or alert design.
Classify the root cause before assigning CAPA:
| Cause category | Examples | Better investigation question |
|---|---|---|
| Equipment | compressor failure, icing, seal leak, defrost behavior, bad relay | What changed in equipment performance before the excursion? |
| Facility | HVAC schedule, room overheating, power outage, blocked airflow | Did the environment around the asset overwhelm normal control? |
| Process | door left open, overloading, poor stock rotation, delayed receiving | Did normal work practice create the condition? |
| Monitoring | bad probe placement, calibration issue, wrong threshold, stale contact list | Did the control system detect and route the event correctly? |
| Data | missing readings, timezone confusion, manual edits, export gaps | Can the record support the decision without reconstruction from memory? |
| Governance | unclear owner, no after-hours coverage, SOP mismatch | Was there a real response contract for this event? |
The category matters because each one implies a different fix. Training does not repair a failing compressor. A new sensor does not fix a stale escalation list. A wider alarm delay does not fix a refrigerator that is drifting every weekend.
Step 7: Write CAPA That Can Be Checked Later
Corrective and preventive action should be specific enough that someone can verify it later.
Weak CAPA:
- “Monitor more closely.”
- “Remind staff to close doors.”
- “Review SOP.”
Stronger CAPA:
- “Replace RX-02 door gasket, then trend recovery time after three normal access cycles.”
- “Add a 10-minute unacknowledged-alarm escalation from pharmacy technician to on-call manager for vaccine refrigerators.”
- “Move probe cable through the approved access port instead of the door gasket and verify with a 24-hour stabilization trend.”
- “Revise receiving SOP so temperature-sensitive deliveries are transferred within the defined window and logged by lot.”
- “Add weekly review of repeated near-limit alarms for refrigerators that spend more than the defined period within 1 C of the upper limit.”
An effectiveness check should answer one question: did the fix change the condition that caused the event?
If the CAPA cannot be checked, it is a note, not a control.
A Practical Excursion File Structure
Keep the investigation package simple enough that people will actually complete it.
Suggested sections:
- Event summary: asset, location, parameter, threshold, start, end, duration, peak or valley.
- Immediate response: who was notified, who acknowledged, what was done first.
- Evidence package: raw trend, alarm history, audit trail, calibration status, photos if relevant, maintenance notes.
- Affected material: inventory, lots, samples, quantities, quarantine status, movements.
- Impact assessment: stability or product rationale, quality review, manufacturer or authority consultation if required.
- Root cause: category, evidence, rejected explanations.
- Disposition: release, reject, continue quarantine, retest, repeat, or other approved outcome.
- CAPA: corrective action, preventive action, owner, due date, effectiveness check.
- Approval: quality, pharmacy, lab, or responsible authority sign-off.
What Automated Monitoring Changes
Automated monitoring does not eliminate the investigation. It changes the quality of the evidence available when the investigation starts.
The strongest systems help with five things:
- preserving original timestamped readings
- showing the shape of the excursion, not just a minimum or maximum
- linking alarms, acknowledgements, escalations, and corrective notes
- exporting a reviewable event record
- proving whether the response process worked after hours, on weekends, and during handoffs
That is why environmental monitoring should be treated as part of the quality system, not just a facilities dashboard. During an excursion, the value is not a pretty chart. The value is a controlled record that helps the responsible team make a faster, better-supported decision.
Teams still relying on manual checks do not need a year-long implementation project before this record improves. The fast-start monitoring deployment path shows how private clinics, pharmacies, and labs can scope the first assets, confirm alert ownership, and go live through a controlled rollout.
ATEK helps laboratories, pharmacies, biotech teams, and critical facilities build that record with continuous environmental monitoring, alerting, reporting, calibration, and validation support. For related implementation context, see our pages on biotech and pharma monitoring, hospital pharmacy monitoring, cloud reporting, and validation services.
Want to review how your team investigates excursions today? Talk to ATEK.