1. Introduce the customer to the installation steps
Request assistance to move equipment obstructing the probe installation.
2. Fix the base and the glycol bottle under a shelf so that everything is as close as possible to the middle of the device. The bottle cap should point toward the bottom of the device.
-
If the shelf is a grid, secure the support with a ty-rap on each side of the bottle (use 2 ty-raps in total).
-
If the tablet is not a grid, stick the Velcro directly under the tablet and attach the support.
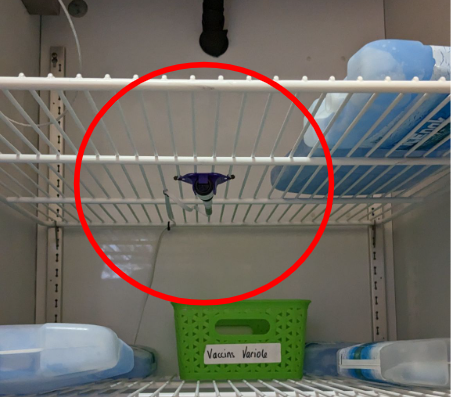
3. Place the probe extension through the access port. For refrigerators with a drawer, use a plug to facilitate the passage of the extension.
If the device does not have an input port, pass the female connection through the door seal on the hinge side.
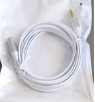
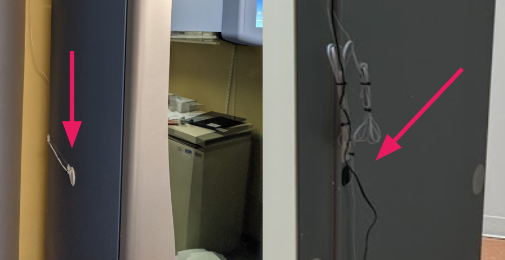
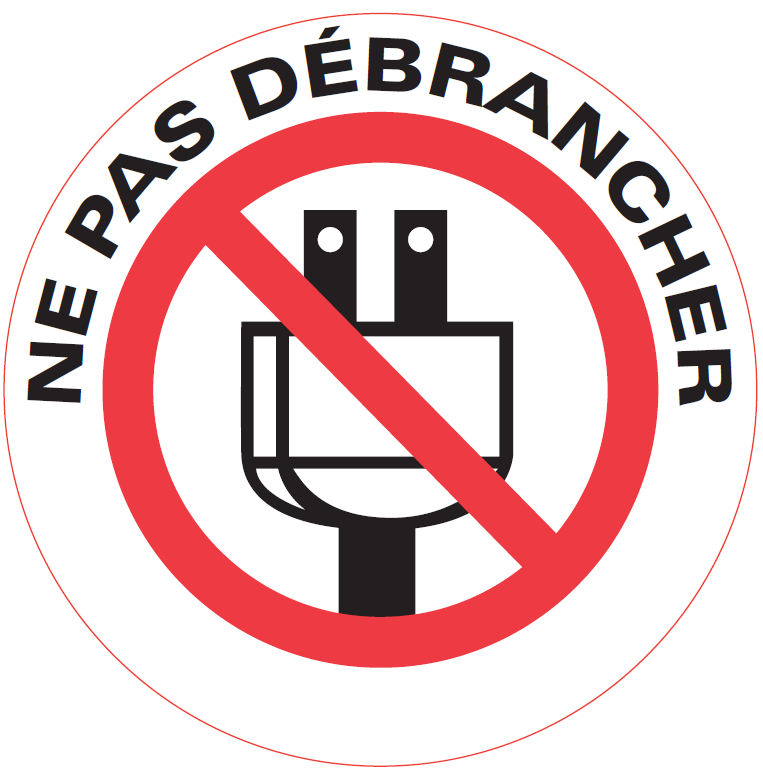
4. Connect the power supply and attach the Do not unplug label to it.
If power strip, attach the power supply to it with electrical tape.
5. Position the transmitter at the top of the door, on the hinge side.
6. Route the probe and power supply wiring along the hinge side, never over the top of the device.
- Both cables leave the bottom of the transmitter and run straight across to the hinge edge of the door.
- Go round the hinge onto the side of the device, then along the side to the back corner. The probe cable runs on top; the power supply cable follows it closely, right under it.
- At the back corner, the probe cable goes up and across the back to the access port. Go over the top only when the access port is on top of the device.
- The power supply cable goes down the back corner to the outlet behind the device.
- Leave enough slack at the hinge for the door to open fully.
Ensure clearance in the power supply wiring to allow the device to move freely: coil the spare cable in a loop behind the device, not on its side.
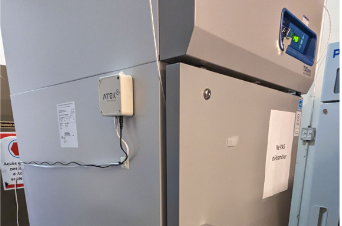
7. Attach a cable tie to the 2 end of the power supply.
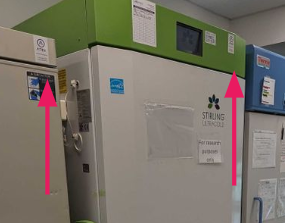
8. Position the ATEK sticker at the top right of the device. If the transmitter is already there (door hinged on the right), put the sticker at the top left.
Stop installations at least 1 hour before the customer’s closing time
9. Before leaving the site
-
-
-
Functional verification with the customer
-
Creation of the customer user account
-
Checking temperatures with the client on their phone or computer
-
Configuring temporary notification conditions while waiting for training
-
-
Temporarily calibrate -80C freezers “without certificate” with the freezer display if it is not possible to calibrate immediately